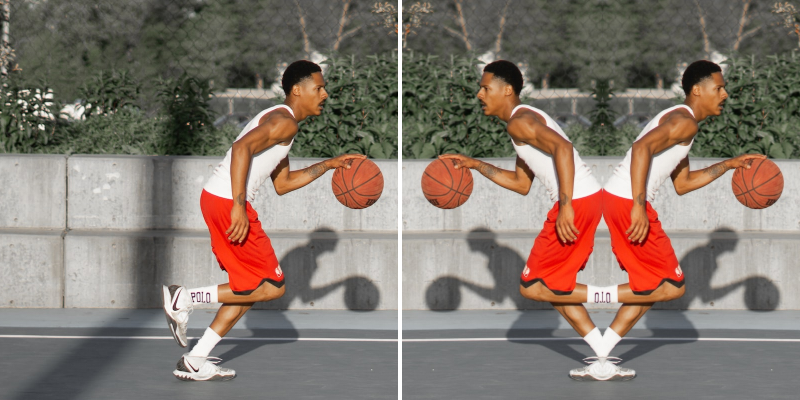
Mirror Filter
Intro
Reverse a Shape along a centre line to create a reflection.

UI
Tiling - Determine what happens at the borders of the image.
- Decal - Do not wrap the image.
- Repeat - Repeat the image.
Offset - Set the position of the mirror's centre line.
Rotation - Set the angle of the mirror’s orientation.
Padding - Increase/decrease the boundary of the result.
Mirror uses the Persist Opacity Blend Mode as its default. This removes the original Shape on the reflected side of the mirror's centre line.
Layer Tool
Certain attributes can be manipulated in the Viewport with the Select tool. When the Mirror Filter is selected in the Scene Window, a purple UI will appear in the Viewport.
- To Offset the Mirror's centre line, click + drag the white dot in the centre of the purple line.
- To set the Rotation of the Mirror's centre line, click + drag the white dot offset from the centre of the purple line.
If the same Mirror Filter is connected to multiple Shapes/ outputs, then the first connection is used to position the purple UI in the Viewport. This can be identified by clicking the purple output connection icon for the Mirror Filter in the Scene Window or Attribute Editor and picking the bottom layer in the list that appears.
Note that Viewport tools will not appear if a Mirror Filter is added to a Sub-Mesh Behaviour.