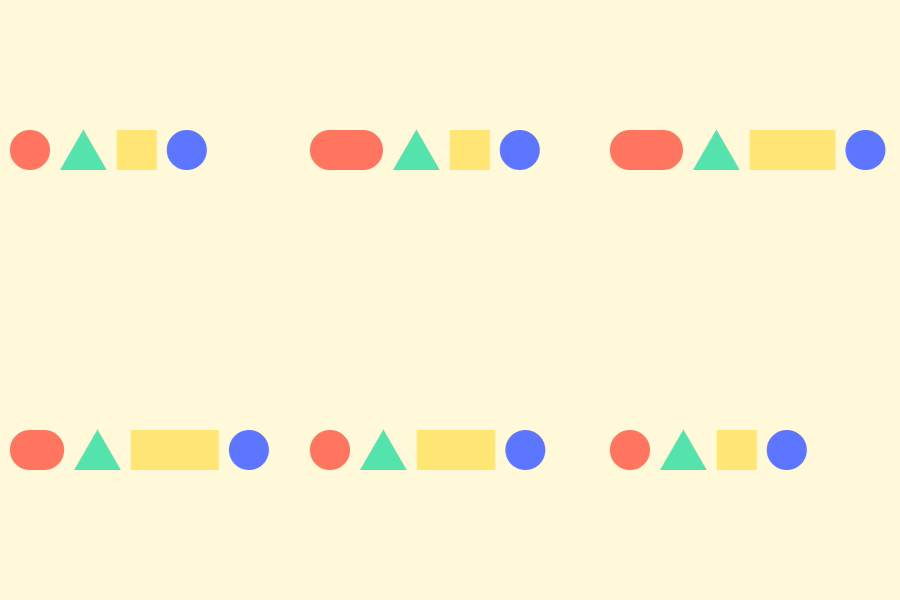
Layout Group
Intro
A Layout Group can be used to arrange Shapes in either a horizontal or vertical direction.
Introduction to Layouts→
- Create 3 Shapes.
- With all 3 Shapes selected, right click in the Viewport and choose Layout > Embed selected in Horizontal Layout.
Try increasing the width/radius of a Shape.
UI
All Shapes have further Layout Alignment options under their Advanced tab which can be used to refine alignment within their cell.
Direction - Select the direction for the Layout:
- Horizontal - Stack Shapes side by side.
- Vertical - Stack Shapes above/below each other.
Wrap Mode - Determine what happens when the combined width/height of the Shapes within a Layout Group exceed its size:
- No Wrap - Shapes will remain on one row/column.
- Wrap - Shapes will wrap to the next row/column.
- Wrap Reverse - Shapes will wrap to the previous row/column.
Note that wrapping is not currently supported for nested Layout Groups.
Draw Extents - When checked, a representation of the Minimum and Maximum Size will be drawn in the Viewport.
Minimum Size - Determine the minimum width and height the Layout occupies when within another Layout.
Maximum Size - Determine the maximum width and height Shapes can fill within the layout. Once the total width/height of the Shapes within the Layout Group exceed these values, the Shapes will start to overlap. By default, the Maximum Size is connected to the Composition's Resolution – remove the connection to set a custom value.
If the Maximum Size is set to a value less than the Minimum Size, the Maximum Size will be internally clamped to the Minimum Size's value (and vice versa). This is not reflected in the Attribute Editor but can be seen in the Viewport with Draw Extents checked.
Margins - Set the space around the edges (top, bottom, left and right) of the Layout.
Spacing - Set a space to appear between each layout item.
Spacing Mode - Determine how items are distributed within the available space:
- Manual Spacers - See Spacers.
- Flex Start - Align the items to the left or top of the layout.
- Flex End - Align the items to the right or bottom of the layout.
- Centre - Align all items to the centre of the layout.
- Space Between - Distribute items so that the gap between each item is equal.
- Space Around - Distribute items so that each item is surrounded by an equal space or margin.
- Space Evenly - Distribute items so that the gap between each item is equal including the edges of the layout.
Line Spacing - When Wrap Mode is set to Wrap or Wrap Reverse, set the distance between rows/columns.
Align Content - When Wrap Mode is set to Wrap or Wrap Reverse, determine the cross axis alignment for the rows/columns. For example, if Direction is set to Horizontal, Align Content will affect the items vertical alignment:
- Flex Start - Align the items to the left or top of the layout.
- Flex End - Align the items to the right or bottom of the layout.
- Centre - Align all items to the centre of the layout.
- Space Between - Distribute items so that the gap between each item is equal.
- Space Around - Distribute items so that each item is surrounded by an equal space or margin.
- Space Evenly - Distribute items so that the gap between each item is equal including the edges of the layout.
Ordering Policy - Determine the order the Shapes within the Layout Group are laid out:
- Layer Order - Order the Shapes from left to right/top to bottom based on their order within the Group. The Shape at the top of the hierarchy is considered the first layout item.
- Alphabetical - Order the Shapes alphabetically based on their Layer Name.
- Shuffle - Randomly order the Shapes.
Flip Order - Reverse the Ordering Policy.
Shuffle Seed - Set the random seed when the Ordering Policy is set to Shuffle.
Connect a Shape's Hidden Attribute to its Exclude from Layout Attribute (Advanced tab) so that when it is hidden in the Viewport, the layout will also update accordingly.