Keyframe Layers
Intro
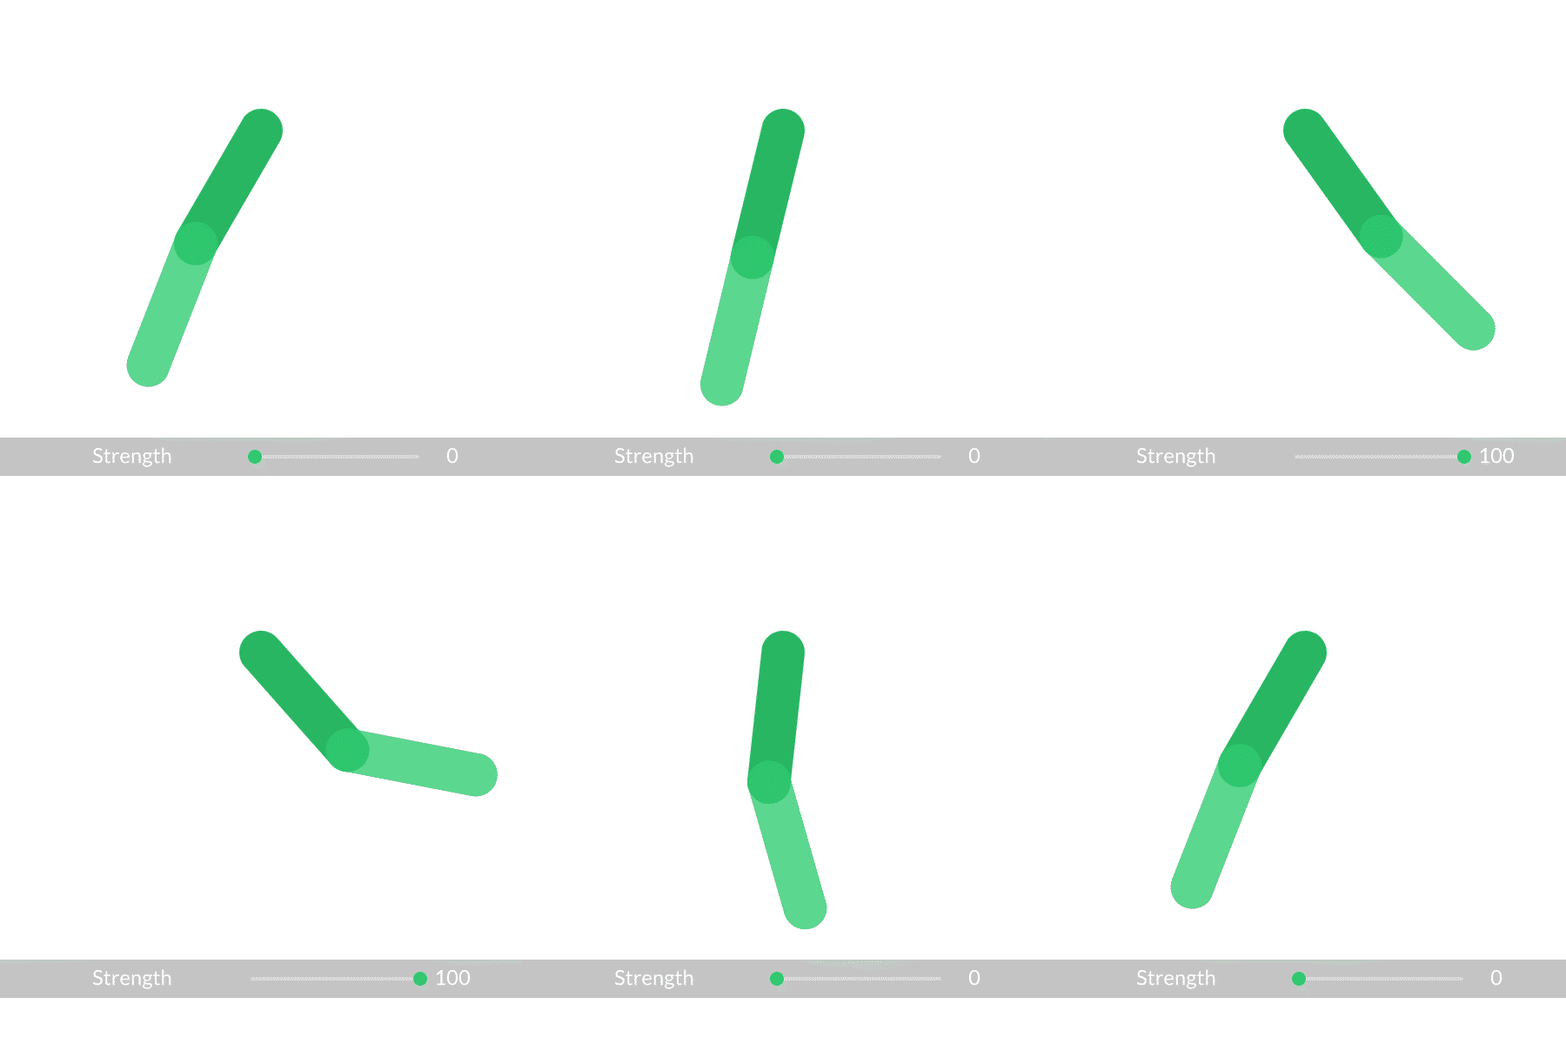
Keyframe Layers make it possible to blend between keyframes/animation curves. This is very useful when needing to switch between animation states like running and walking. Keyframe Layers can transition between these states without the need to copy/paste blocks of animation.
UI
Active - Enable/disable the layer.
Strength - Determine the strength of the layer.
Mode - Set a mode for how the layer's values blend with the layers below it:
- Normal - Keyframes on the layer are additive.
- Overwrite - Keyframes on the layer will overwrite other layers.
Double click a layer's header row to set it as the current layer. The controls will reflect the current layer's values and any changes will be applied to it.
An additional read-only control will appear in the Scene Tree when keyframes are added to any non-Default Keyframe Layers. This will display the combined value of all Keyframe Layers.
Use the trash icon to remove a Keyframe Layer.
To load the Strength animation curve into the Graph Editor, open the Keyframe Layer Editor and select the layer to adjust.

- Open keyframeLayers.cv (example file below👇) and load the Start Composition.
- At the bottom of the Scene Window, click the Keyframe Layer Editor button
- Click the
+button in the bottom right of the window to create a new Keyframe Layer. - Double click the new Keyframe Layer to switch to it.
- Set keys on armUpper.rotation of:
- fr0 = -50
- fr20 = 50
- fr40 = -50
- Set keys on armLower.rotation of:
- fr6 = 0
- fr26 = 40
- fr46 = 0
- Switch to the Graph Editor to adjust the animation curves.
- Move the timeline to frame 100.
- Back in the Keyframe Layer Editor set the Strength to 0 and set a key.
- Move the timeline to frame 150.
- Set Strength to a value of 100.
- Press Play.
The arm's swing height should increase over frames 100 to 150.